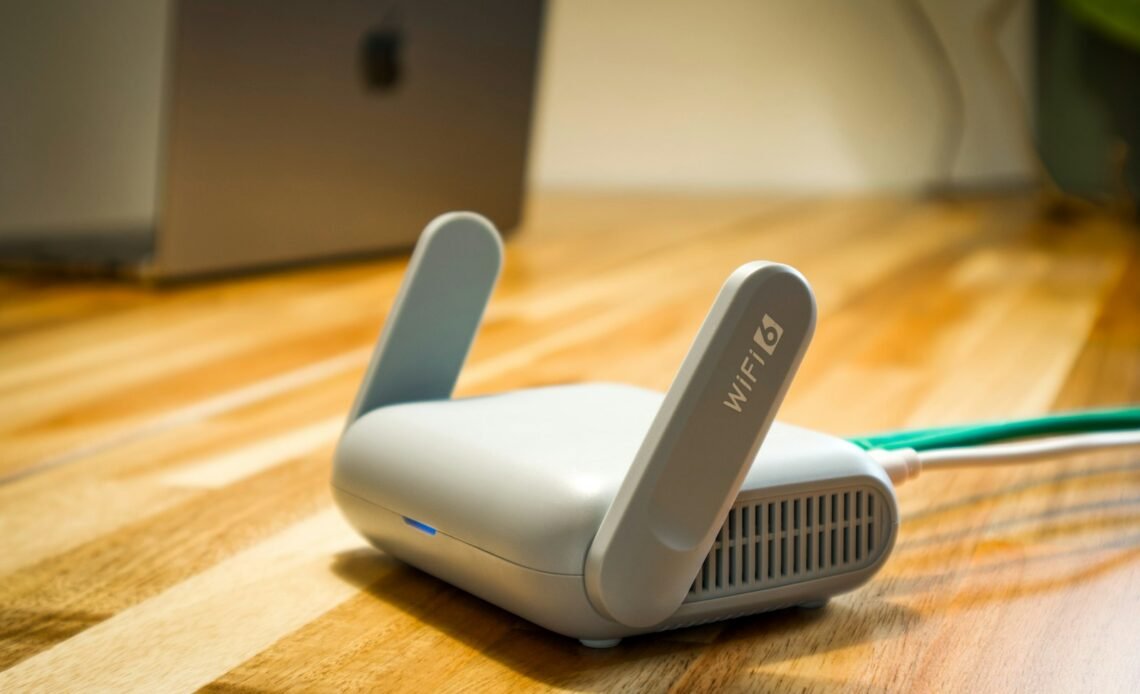
Hotel Wi-Fi is a shared room. Every guest on the same access point is, technically, on the same network as you — and airport lounges and co-working cafés are worse. The fix frequent travelers and digital nomads actually use isn’t a VPN app on every phone and laptop. It’s a pocket travel router that logs into the hotel’s Wi-Fi once, then broadcasts its own private, VPN-encrypted network for every device you carry. One login, one router, every device covered.
Photo: a compact travel router, the kind of device this guide configures, via Unsplash (free license).
The router doing this job in most nomad gear lists right now is the GL.iNet Beryl AX (GL-MT3000) — a pocket-sized Wi-Fi 6 unit with a 2.5G port, built-in OpenVPN and WireGuard clients, and a street price that runs from roughly $69 to $99 depending on the retailer and promotion. Here’s how to actually set it up, step by step, using WireGuard — the modern VPN protocol that’s faster and simpler to configure than OpenVPN.
Why a travel router instead of per-device VPN apps
Running five separate VPN apps across a phone, laptop, tablet, and a travel companion’s devices means five logins, five app updates, and five chances one of them gets forgotten on an unsecured network. A travel router collapses that into one: the router authenticates to the hotel, airport, or Airbnb Wi-Fi as a single client, encrypts everything through your VPN provider, then re-broadcasts a private SSID that every device just joins like normal Wi-Fi — no app, no per-device login. It also helps with a second, unrelated problem: some hotel and campus networks block ports or protocols that streaming or work tools need, and tunneling the whole router’s traffic through WireGuard routes around a lot of that filtering, since the hotel network just sees encrypted traffic to a single VPN server.
What you need
- A GL.iNet Beryl AX (GL-MT3000) — AX3000 Wi-Fi 6, one 2.5G port, one Gigabit port, roughly the size of a deck of cards
- A WireGuard config file or credentials from your VPN provider (Mullvad, NordVPN, ProtonVPN, AzireVPN, and others all support WireGuard natively)
- A laptop or phone to run the setup from
Step 1: First boot and admin login
Plug the Beryl AX into power, connect your laptop to its Wi-Fi network (the default SSID and password are printed on a sticker on the router itself), and open a browser to 192.168.8.1. On first boot it walks you through choosing a language and setting an admin password — don’t skip this; GL.iNet routers ship with a known default and leaving it unset is the single most common travel-router security mistake. Once that’s done, go to the internet setup screen and connect the router to the hotel or venue Wi-Fi as its uplink — this is usually under a Repeater or WAN setting where you pick the hotel’s network name and enter its password, exactly like connecting a phone to it directly.
Step 2: Load your VPN config
In the admin panel, go to VPN → WireGuard Client. Click Add Manually — this creates a new profile group in the sidebar. Give it a name you’ll recognize later, like the provider’s name. You then have two ways to load the config:
- Upload a file: if your VPN provider gives you a downloadable WireGuard config (a
.conffile, or a zip/tar containing one), click the upload area and select it, then click Apply. - Paste the config text: click Manually Add Configuration, paste the full WireGuard config block your provider gave you into the text box, and click Apply. If you’d rather fill in each field separately — private key, peer public key, endpoint, allowed IPs — switch to Item Mode first and enter them individually before applying.
Some major providers (Mullvad, NordVPN, AzireVPN, among others) let you skip the manual config entirely — the Beryl AX’s WireGuard Client screen has provider-specific tabs where you log in with your account credentials and the router generates and installs the server configs itself.
Step 3: Connect and verify
Back on the WireGuard Client screen, click the three-dot icon next to your new profile and start the connection. A green dot next to the entry confirms it’s active. Open the VPN Dashboard page to see the live connection details — assigned IP, data transferred, and which server you’re routed through. From a phone or laptop joined to the Beryl AX’s own Wi-Fi, load any “what’s my IP” page; it should now show the VPN server’s location, not the hotel’s.
Step 4: Make it automatic for every trip
Once the profile is saved, the Beryl AX remembers it. The next time you check into a new hotel, you only need to repeat the Wi-Fi uplink step — pointing the router at the new network’s SSID — then reconnect the same saved WireGuard profile with one click. Every device that joins the router’s own Wi-Fi network is covered automatically, with no app to install and no login to repeat on a phone, tablet, or a travel companion’s laptop.
A note on OpenVPN, if your provider doesn’t support WireGuard
The Beryl AX also ships with a built-in OpenVPN client, under VPN → OpenVPN Client, using the same “upload a file or paste the config” pattern. WireGuard is the better default where it’s available — it’s a newer protocol, has a far smaller codebase that’s easier to audit, and typically connects faster and holds up better on flaky mobile or hotel connections. Reach for OpenVPN only if your VPN provider hasn’t rolled out WireGuard support yet.
The upfront setup takes about ten minutes. After that, the security decision for every hotel, lounge, and co-working café on the trip gets made once, by the router in your bag, instead of device by device, login by login, network by network.